

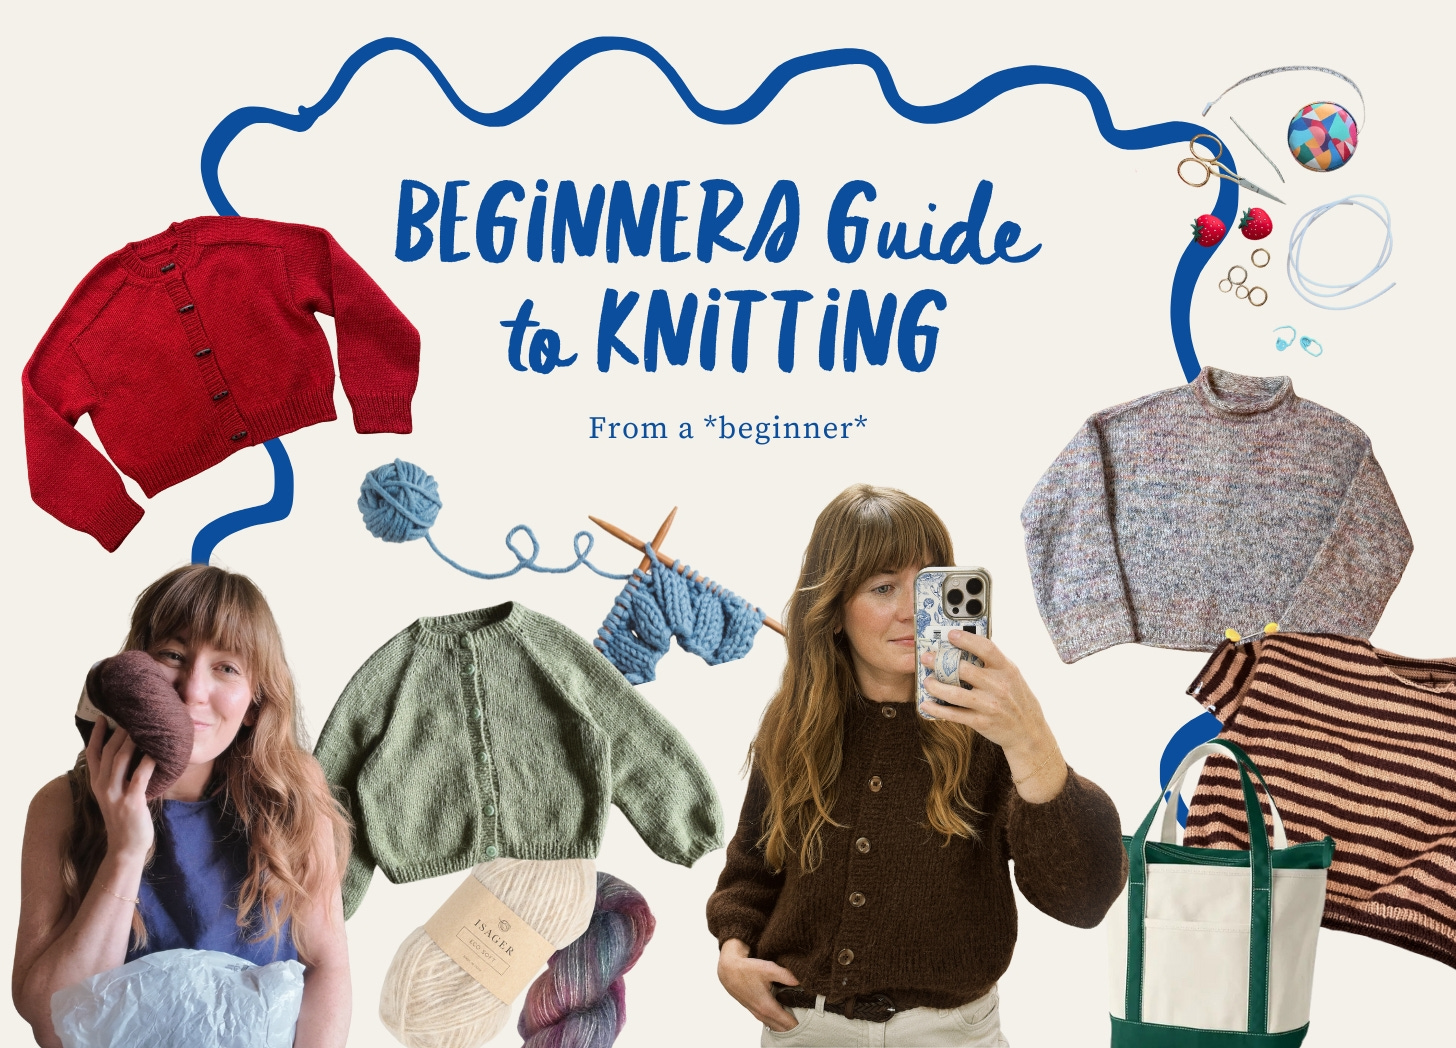
Beginner's Guide to Knitting (from a beginner)
I learned to knit at the beginning of 2025 and here's my best advice if you want to learn.

This new year everyone seems to be wanting to live more offline, to start a hobby and just simply get off their phones and do more IRL stuff. I’m all for it. That was a major goal of mine last year and I credit it mostly to knitting.
As a mom of 3 little kids, I thought knitting wasn’t really going to fit into my lifestyle. It seemed like a lot of work and kind, well, boring. My sister had started knitting in 2024 and kept asking me to give it a try. I’m glad I finally said, “yes” (and thank you to my sister for pestering me to give it a try!).
I’m going to be honest here. I wasn’t super into knitting when I first started. The basic stitches: knit and purl are very simple, but reading a pattern felt like I was learning a foreign language. I screwed up my first two projects - a scarf first, then a hat. Both of these are were very simple projects, but I made a few mistakes right in the beginning that setup the projects to fail, which leads to me to my first piece of advice.
Don’t be afraid to unravel (or called frogging in the knitting world) when you make mistakes.
I didn’t realize I had cast on the wrong number of stitches for my scarf until about two inches into the project. Those two inches felt like they took me forever to do and I didn’t want to undo all that work and start over. So, I forged ahead and guess what? After several more hours and few more inches I realized my project was doomed. So, I frogged it.
Thankfully I had my sister to lean on and ask questions about what was going wrong, which brings me to my second tip.
Learn from someone in real life. See if you can find a friend or anyone you know to show you how to knit. If you don’t know anyone IRL who knits, check out your local yarn shop for a class or look and see if they have open knitting hours where you can sit and work on your project alongside fellow knitters. The staff can often help you problem solve with you or befriend a fellow knitter!
If you’re from the Minnesota here are my favorite Twin Cities yarn shops:
I don’t know what it is about knitting, but now that I know how to knit I’d jump at the request of a friend or family member asking me to teach them to knit!
If you aren’t able to find a person or have access to a local yarn shop, then I’d dive into youtube to find tutorials. There’s also a solid knitting community on reddit that’s great for help when you don’t know what happened to your work, but you know something is messed up.
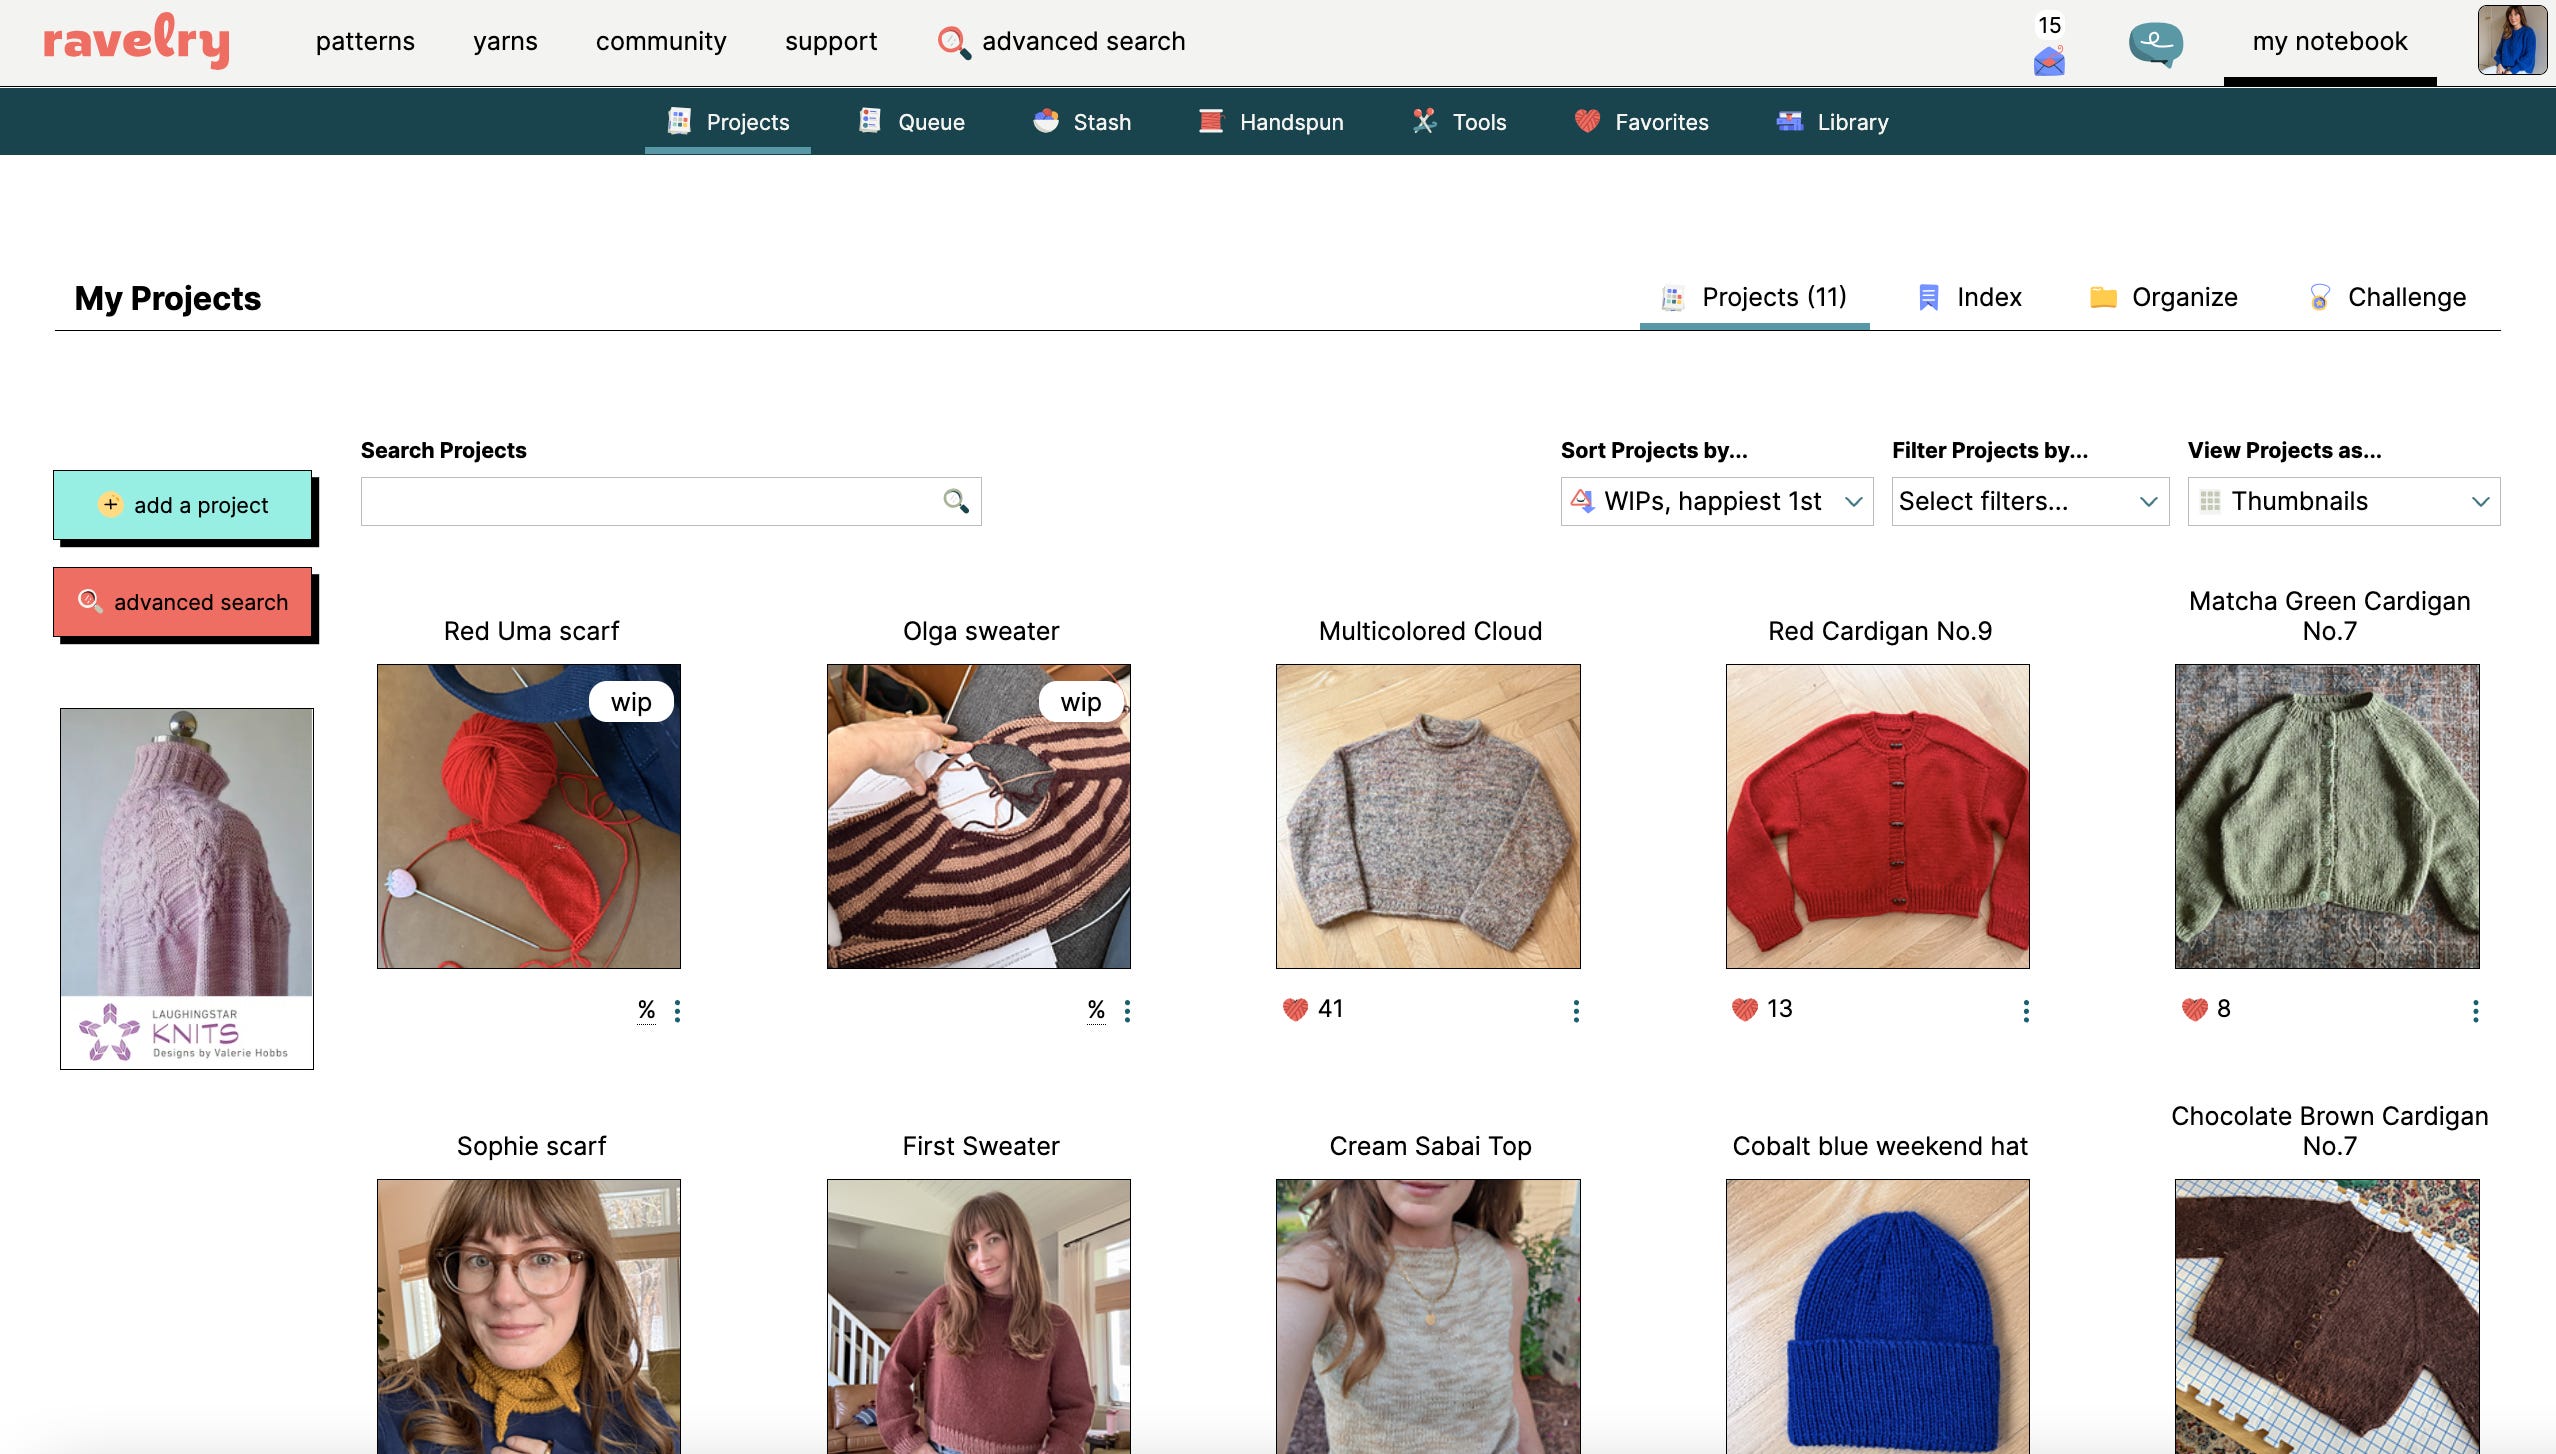
Make yourself a Ravelry account. If you’ve never heard of Ravelry, no worries. It’s an old school looking website that is a database of all things knitting (and crochet) and it’s completely free. You can find my Ravelry profile here!
I love Ravelry for documenting my projects and the details like yarn selections, needle size I used, how many balls of yarn I used/purchased for the project, and more. You think you’ll remember what needle you used, but then you put down a sweater project for a few weeks (or months) when it comes time to knit the sleeves and you completely forgot what needle size you need to use. I know this feeling from personal experience and I was sooooo happy I had entered all this information into Ravelry when I first started the project.
Now, let’s move onto the tools and patterns I’d recommend to beginner knitters.
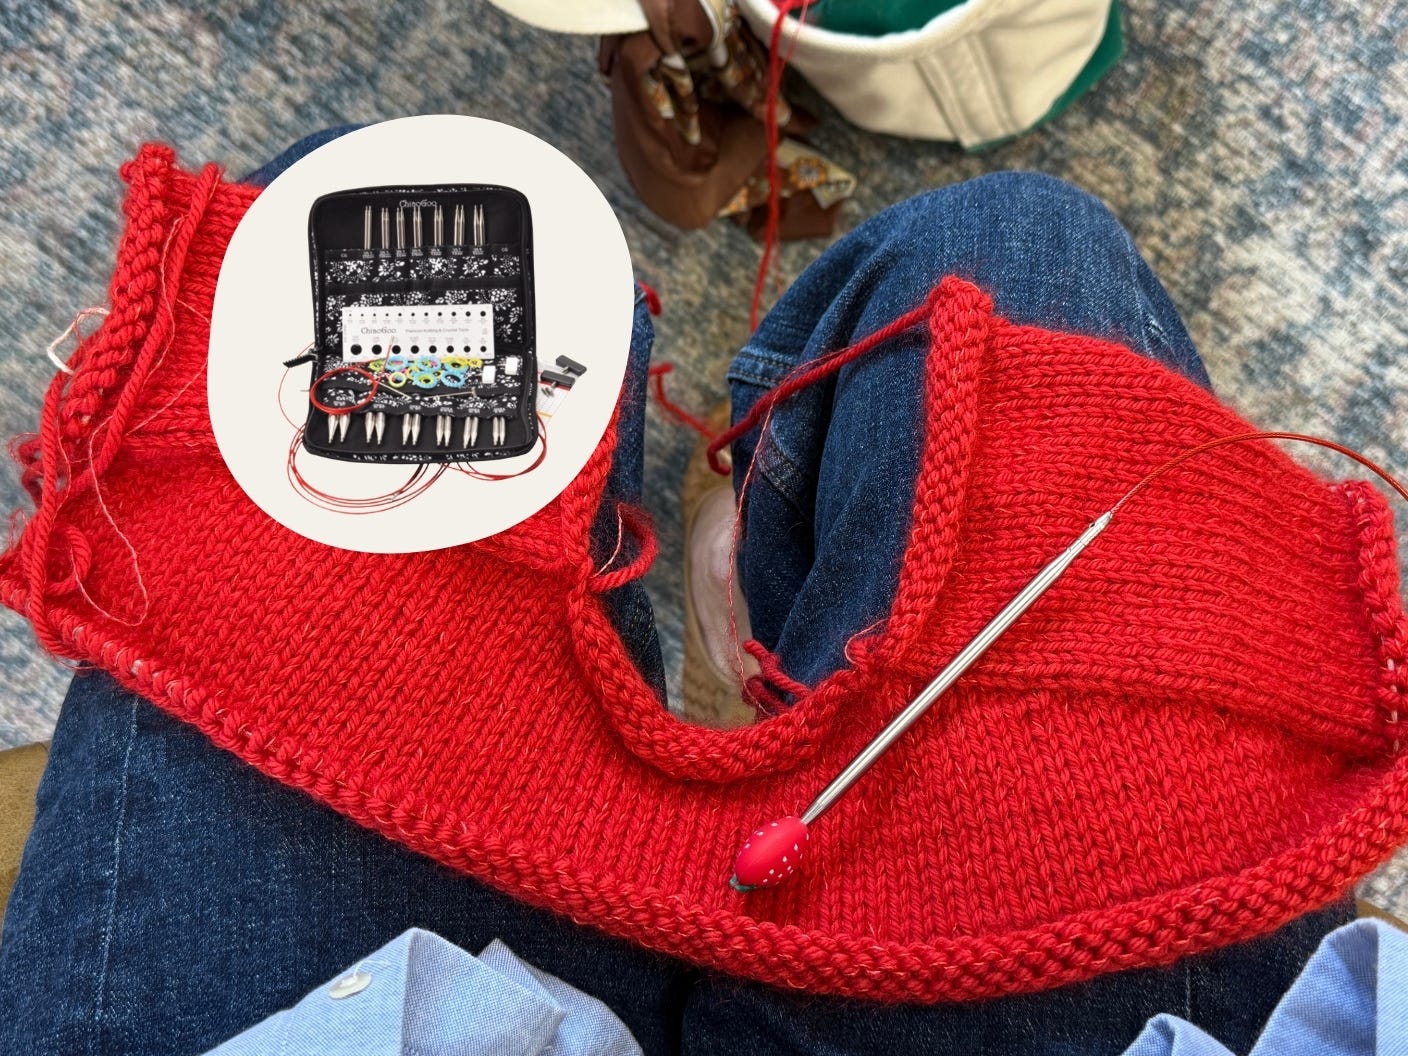
I would recommend using interchangeable needles. I personally use the Chiaogoo 5-inch metal interchangeable needles. I know some people love bamboo needles, but I’m a bit of a tight knitter and found metal to be more “slippery” and, therefore, better for me.
If you aren’t ready to commit to buying a set, I’d suggest buying the interchangeable needles individually for your first project or two to see what you thing. You can also buy needles with the cords attached permanently to the needles, but I find those a pain and interchangeable much more useful. You would get the needle(s) size you’re pattern calls for and one red cord from the Chiaogoo Twist line (this is their metal needle line).
Before I jump into specific patterns I’d recommend, I start by just practicing with some yarn and needles simply going back and forth in knit stitch. Then, do knit on one side and purl stitch on the other side. Then, finally practice ribbing, which is one knit stitch and one purl stitch. This is just practice and then you can unravel it and keep the yarn.
There are a few things that are super helpful to understand visually that will help you so much when starting your knit journey:
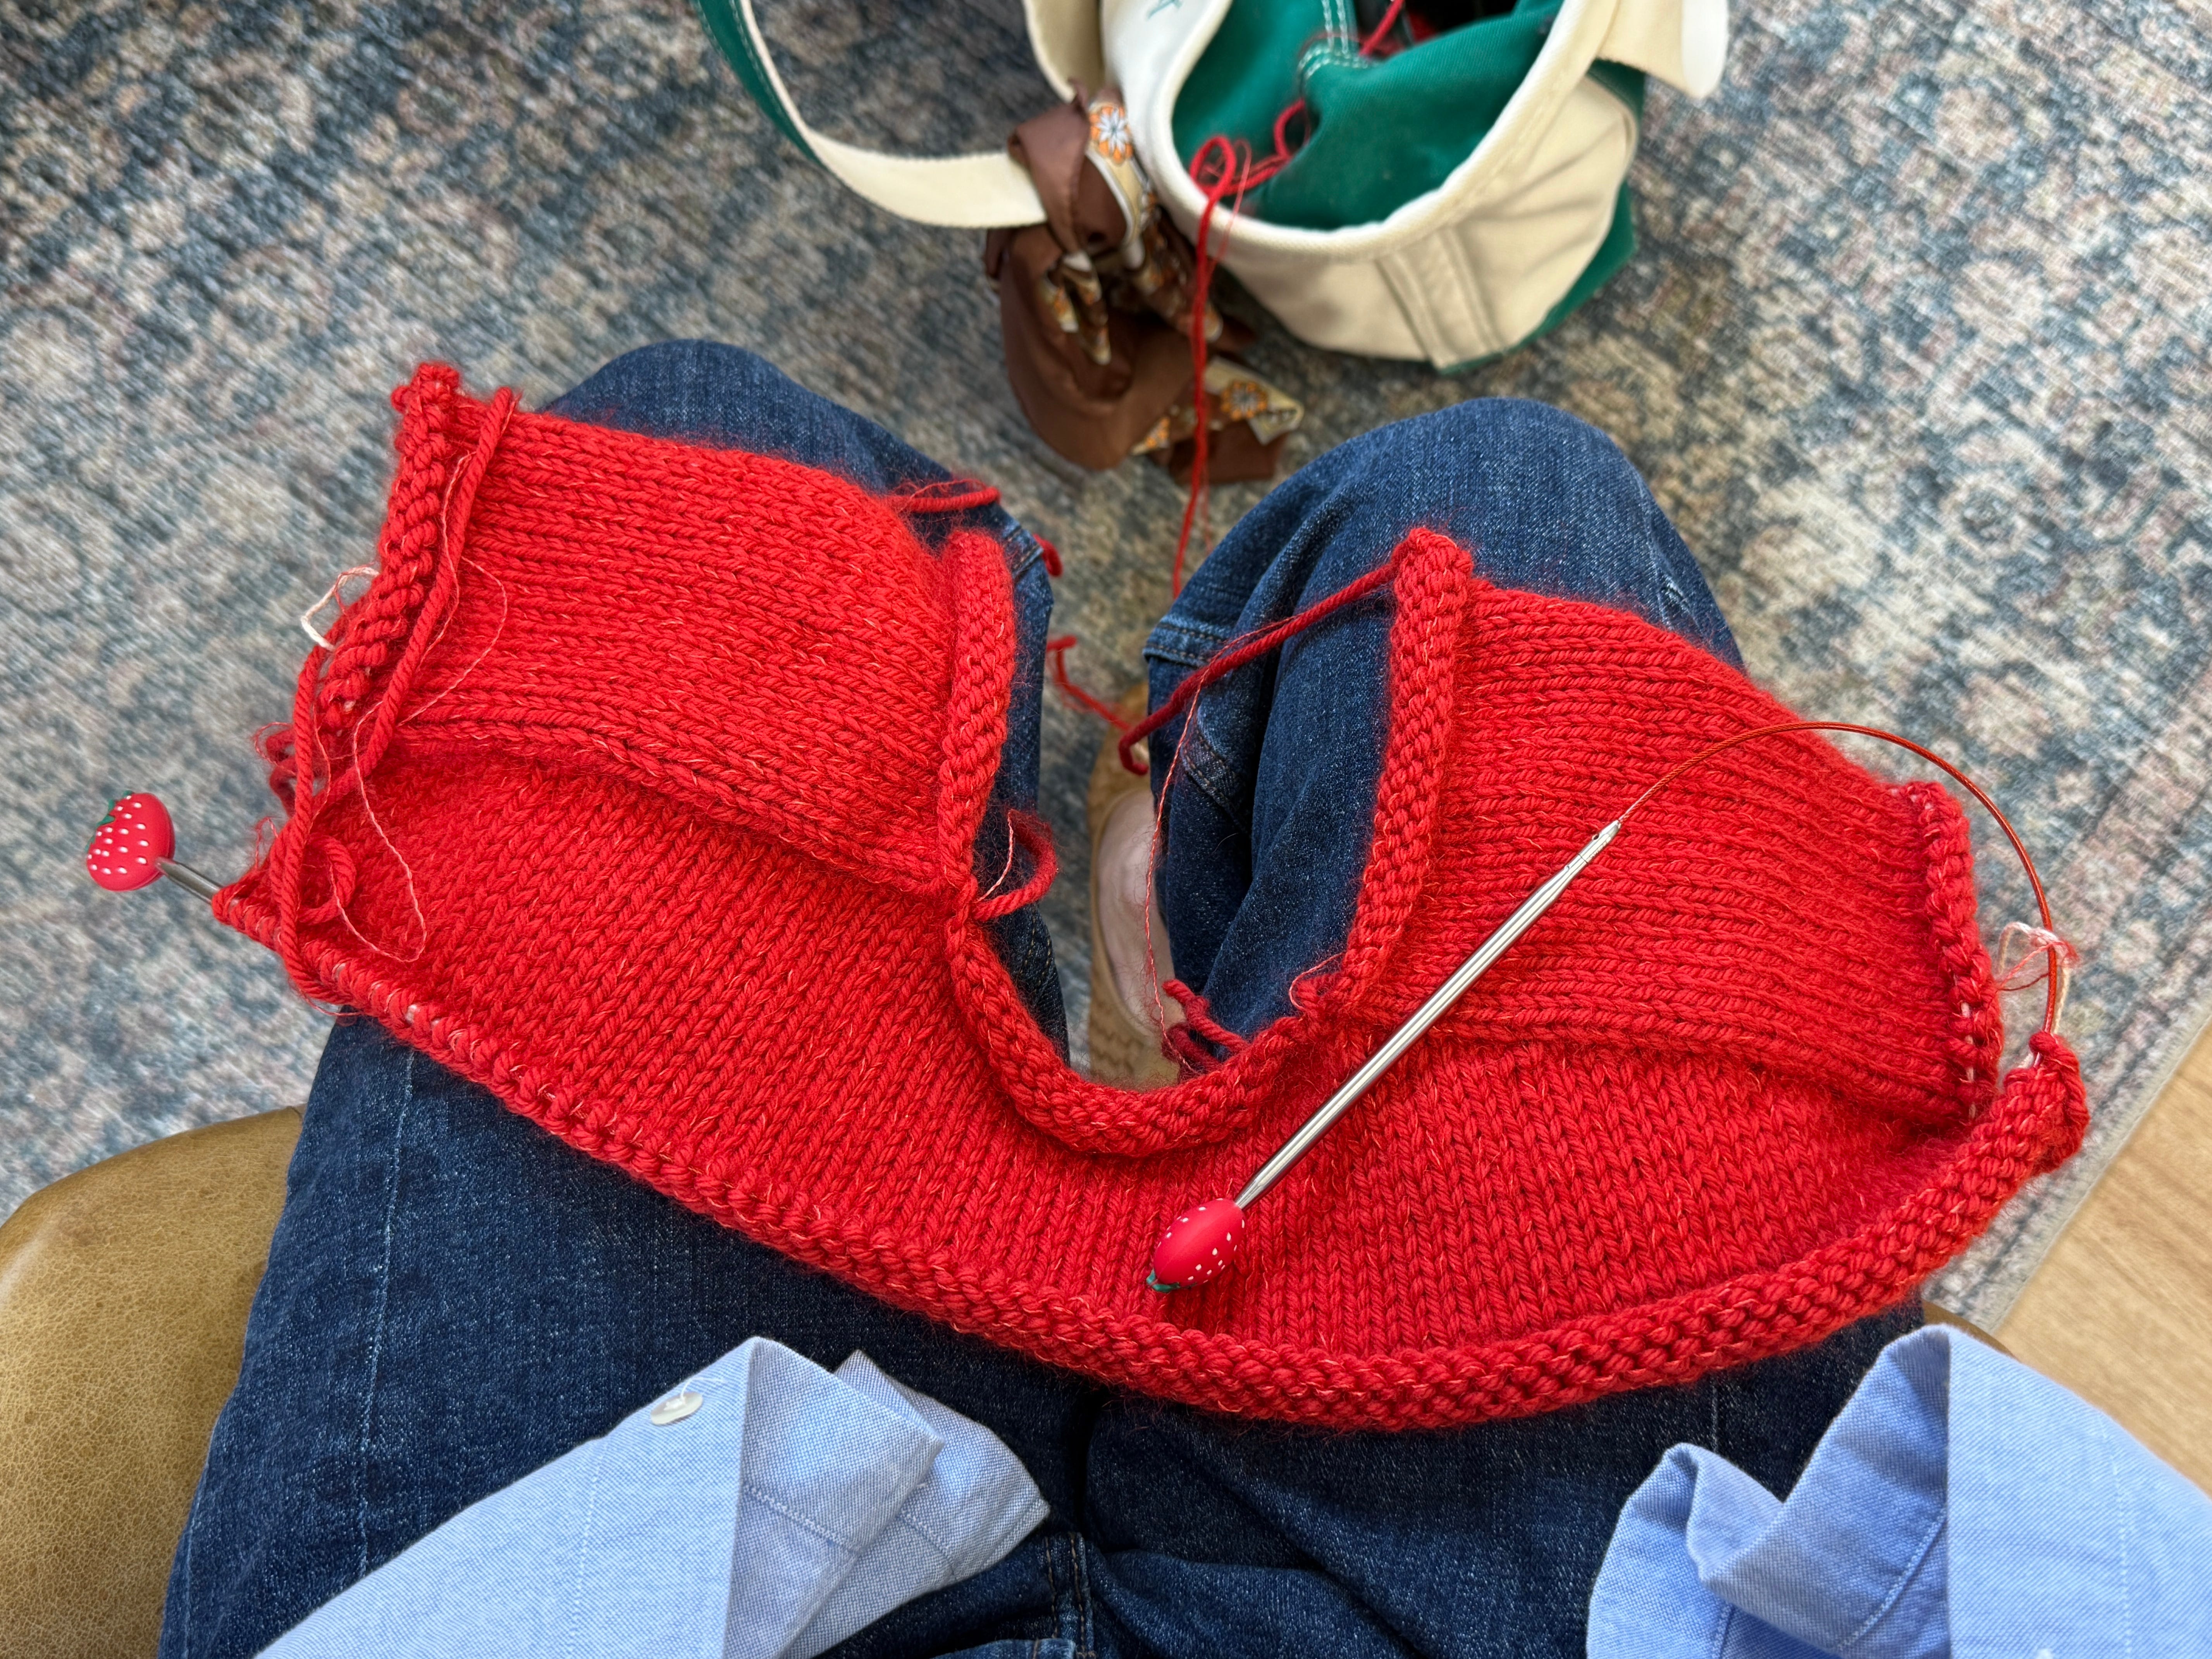
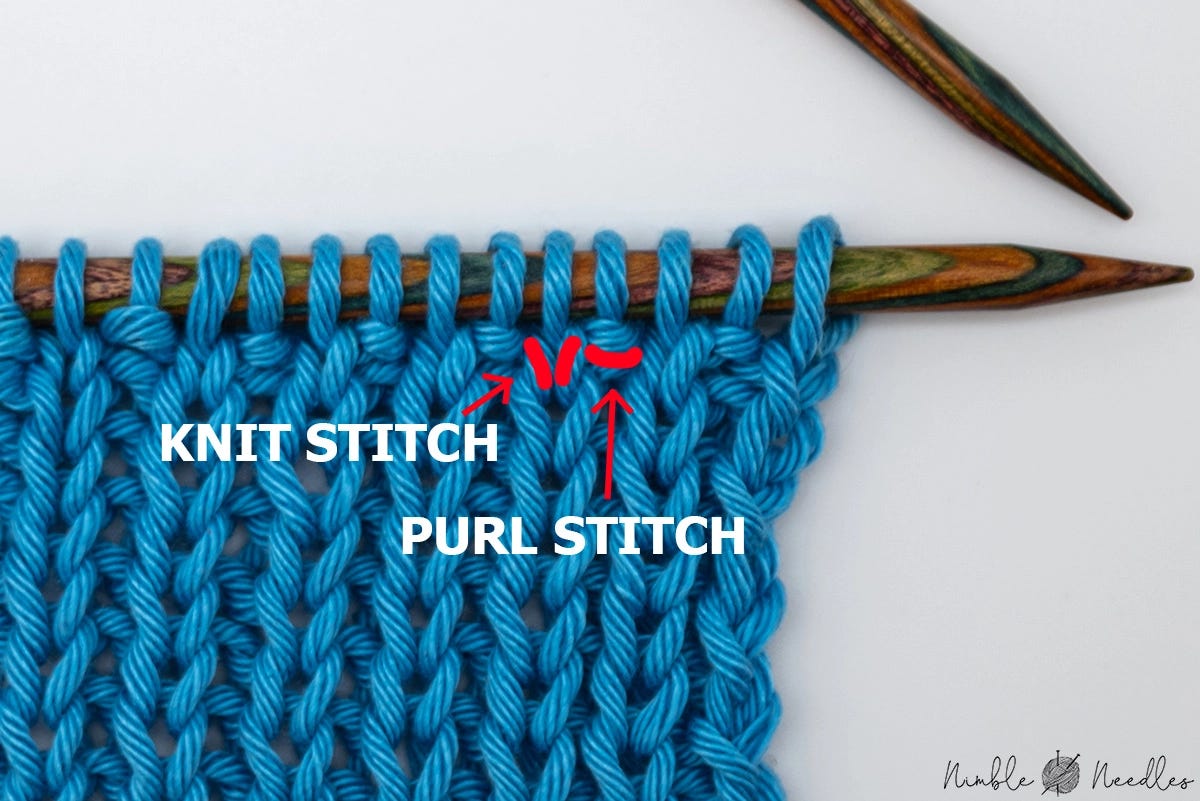
Learn the visual difference between a knit stitch and purl stitch. This is especially helpful for ribbing. When I started I would just alternate in my brain the words, but it was easy to loose track of until I was able to see the difference between the stitches. A knit stitch looks like a “V.” A purl stitch looks like it going straight across. The way I was able to remember this was a that purl stitches are wearing a “pearl necklace.” Here’s a photo that illustrates the differences well from Nimble Needles.
It’s also helpful to know that the “right” side of the stitches should be on the front of the needle. This is helpful if a stitch falls off when knitting and how to put it back on the needles.
After you’ve practiced a little, find a simple first project to learn to read patterns and feel the accomplishment of making something! Yay! My best advice is don’t spend too much time on “beginner” projects like scarves, especially if you really want to knit sweaters. They really aren’t as complicated as you might think.
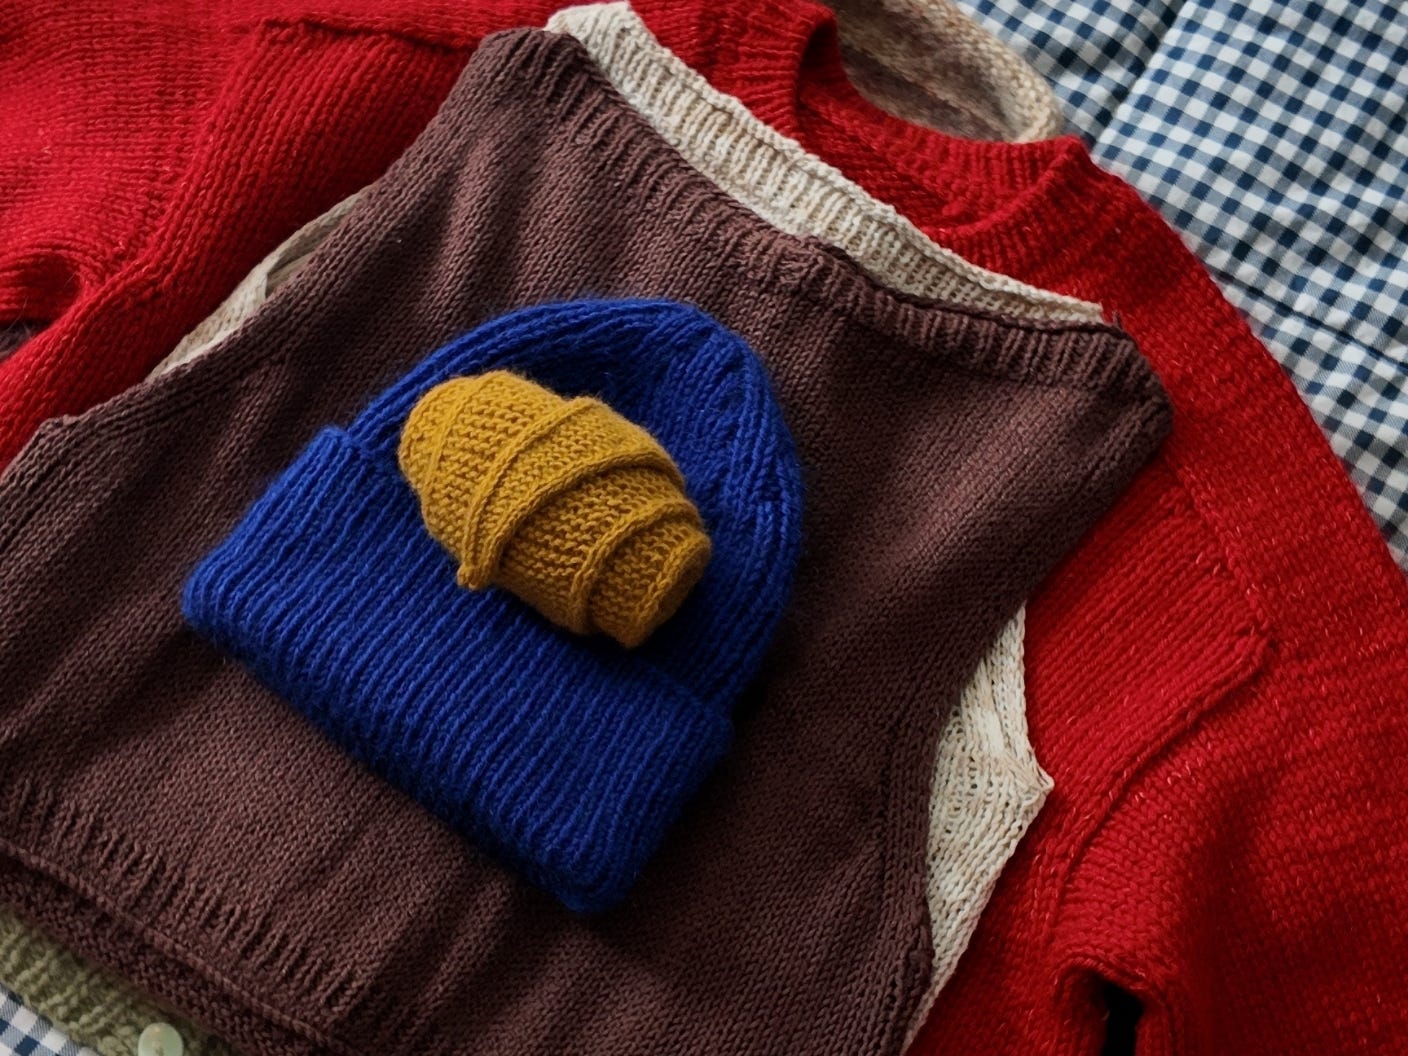
Hat and scarf patterns I’d recommend to beginners:
If you want to knit a sweater, I recommend starting by knitting a hat like the Helka Hat by Knitters & Friends. This will teach you how to knit in the round, which just means knitting circle to form a tube. You’ll learn how to do ribbing. A slightly more advanced hat pattern I’ve made is the Weekend Hat by PetiteKnit.
Another favorite beginner pattern is the Sophie Scarf by PetiteKnit. I’d also add her newer pattern for a bandana scarf the Uma Scarf.
Sweater and cardigan patterns I’d recommend to beginners:
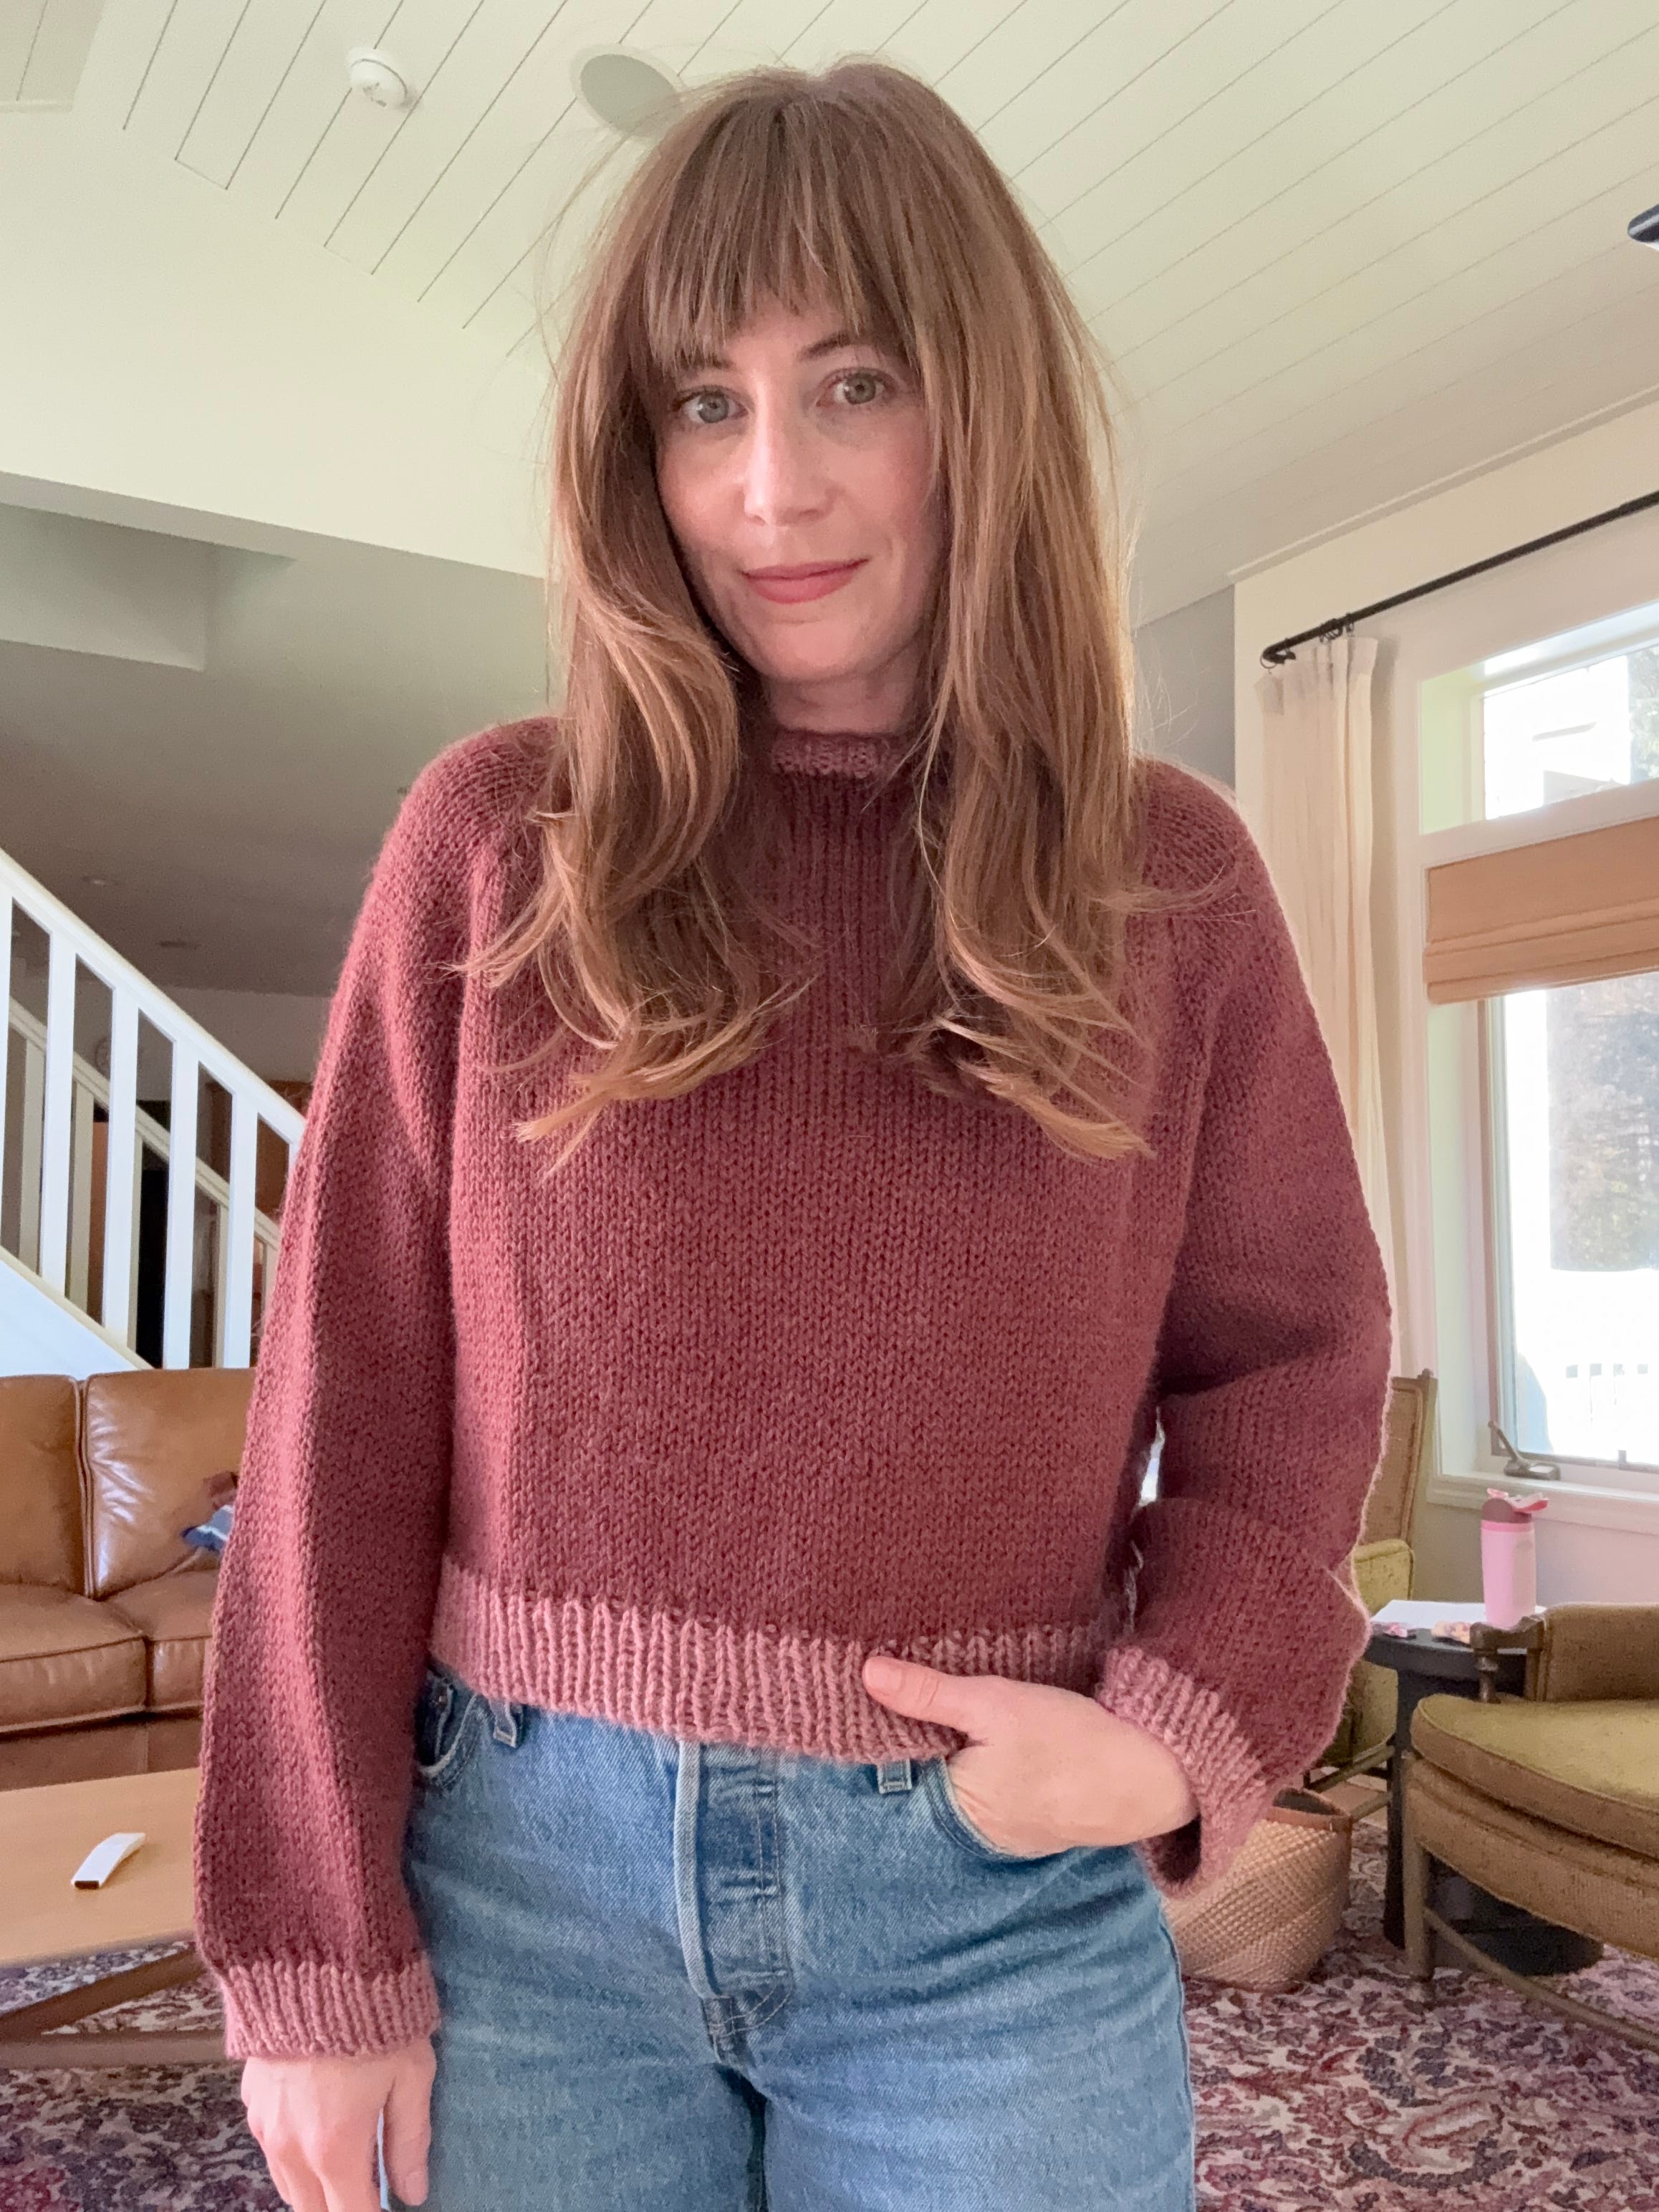
Hands down, my favorite sweater pattern to recommend is the Step-by-Step Sweater by Florence Miller. The pattern is free and has a very detailed youtube video walking you through all the steps in detail. It’s a really easy to understand pattern and the sweater is a classic silhouette. After I failed making a scarf and hat, I went all in a just decided to make a sweater and this is what I picked. So, you don’t want to make a small project and just learn to knit sweaters you can absolutely do it!
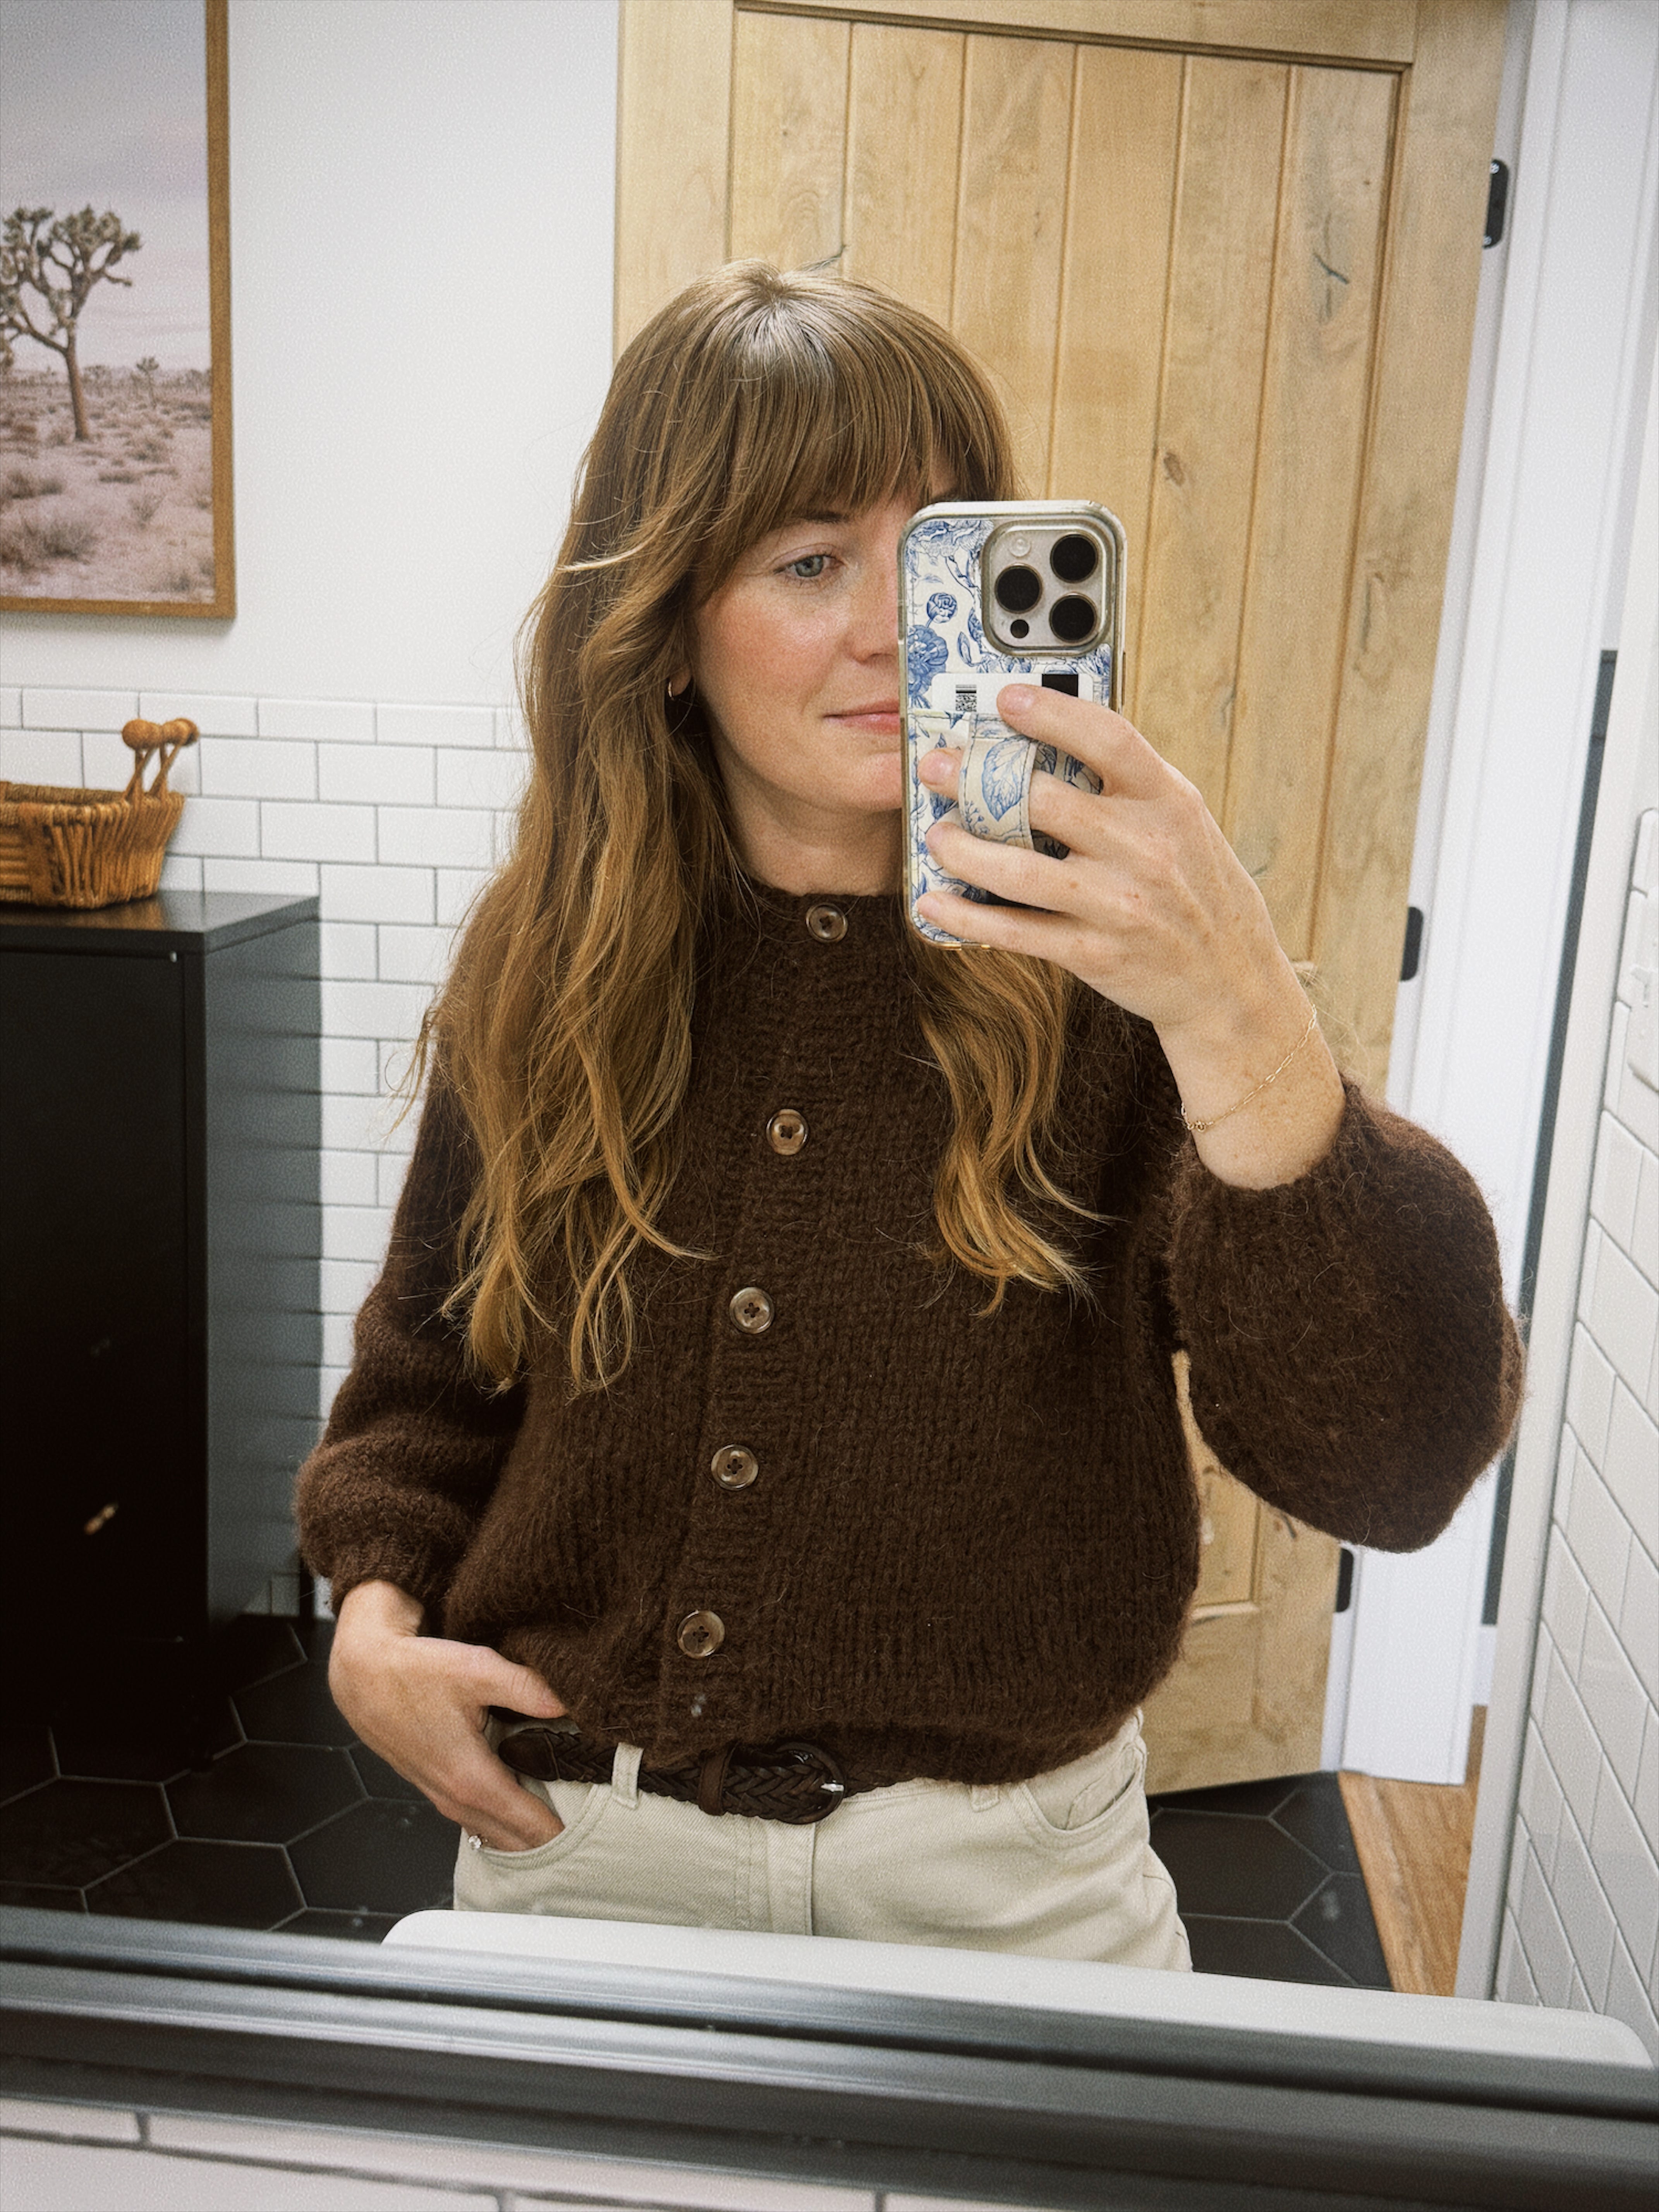
My next project was a cardigan and it’s a really great pattern by My Favorite Things Knitwear called the Cardigan No.7. The Step-by-Step sweater is raglan construction and so is Cardigan No.7 so everything you learn in the sweater aligns with making this cardigan.
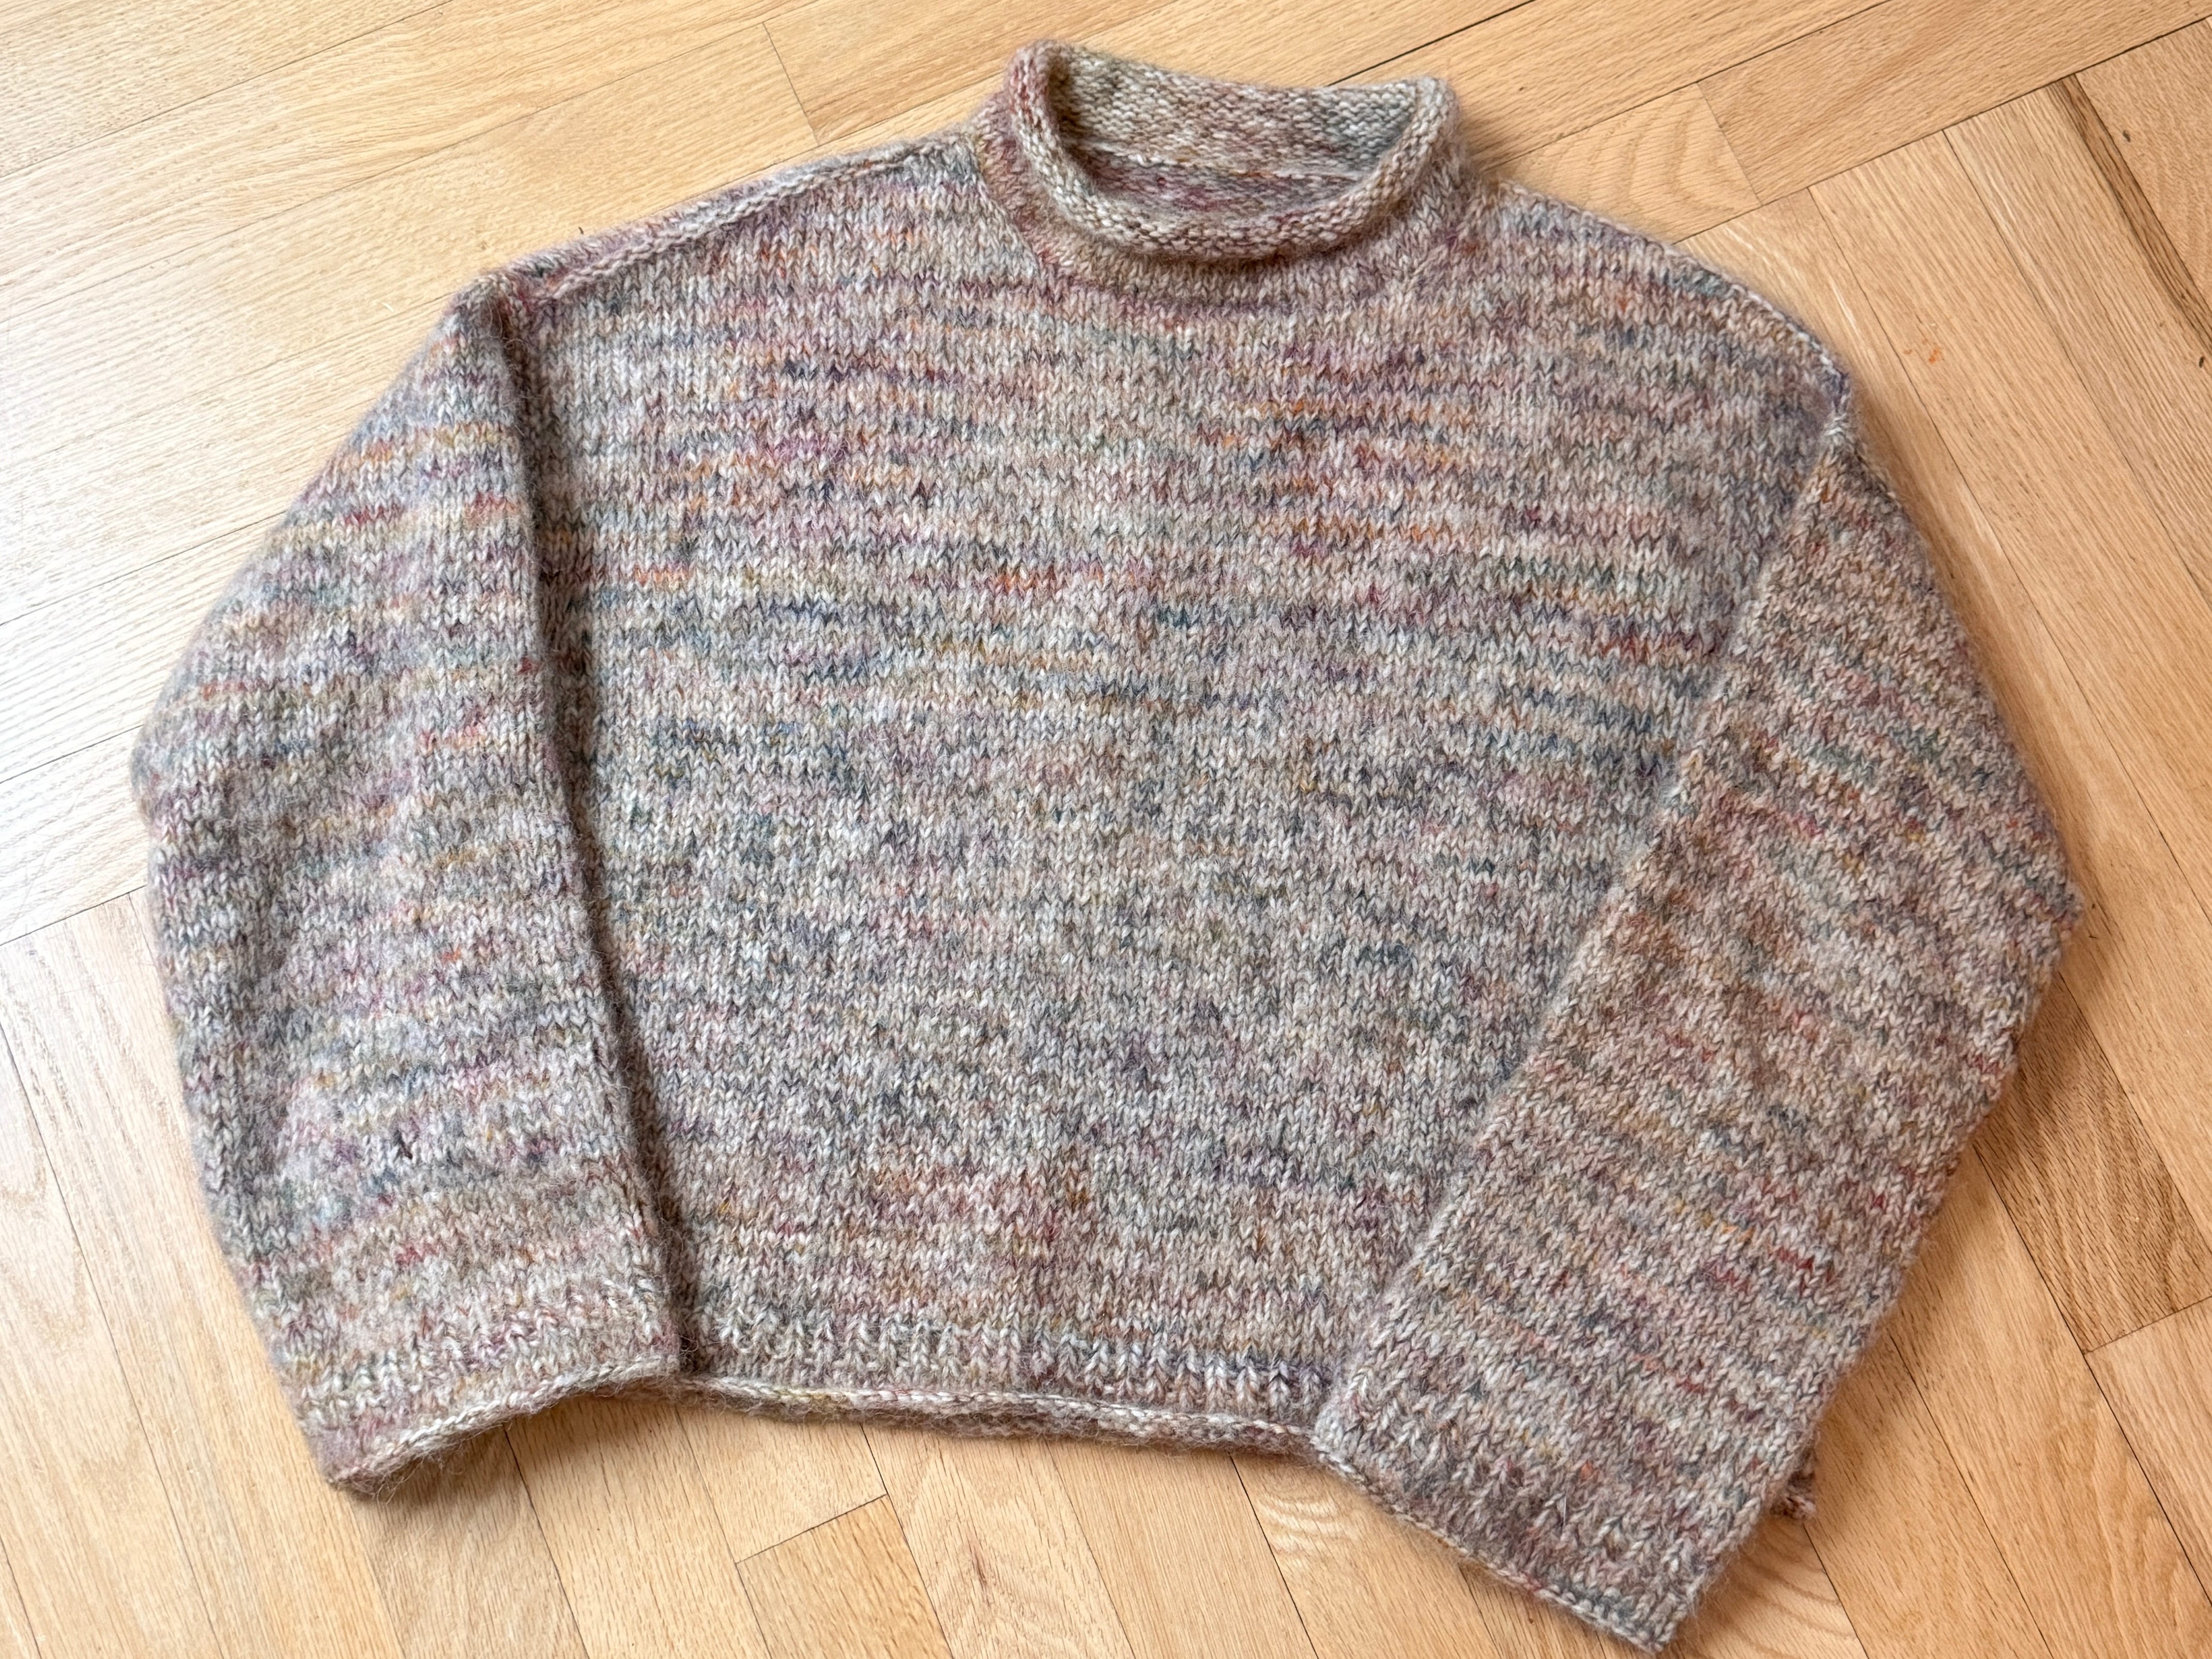
A recently made the Cloud Sweater by PetiteKnit and I think it would make for an good beginner sweater that’s a different called a drop sleeve construction. It’s okay if you don’t understand these terms yet. It comes with time and you’ll be amazed at once you make a few things how all the terminology starts to click and start to pick up details in garments you never noticed before.
Let’s chat yarn.
Think of the knitting patterns as the recipe and the yarn as the ingredients. My preferred ingredients are natural fibers. I like how they feel and wear. I’ve only knit one project with a blend of natural and acrylic and didn’t love the yarn. I think even as a beginner it’s worth it to use natural fibers.
If natural fibers feel out of your budget I’d suggest the brand Drops because it offers lots of natural fiber options at really affordable prices. It’s the yarn called for in the Step-by-Step sweater I mentioned above.
I’d also suggest (if possible) to shop at your local yarn shop. If you have a pattern you want to make bring it with you and the staff would likely be very helpful in figuring out which yarn they offer that would work well with the pattern you want to make.
Yarns are organized by weight, which to be honest I still don’t fully understand so I just ask the staff at my local yarn shop and they’ve always been sooooo helpful!
If you need to buy online I love Wool and Company and have been really happy with their prices, customer service and delivery times. They also offer free winding of the yarn, you just have to select it at checkout.
I try to use the suggested yarn for patterns, because I’m not someone with a big stash of yarn needing to be used. You can absolutely use a different yarn for patterns and if you don’t have access to a local yarn shop, then I’d highly suggest looking through other people’s projects on Ravelry for the specific pattern. Simply visit the Ravelry page for the pattern and click “Projects” at the top. I believe you need to be logged into your account to see these. Then, look through the projects and you might find a yarn people often substitute for the pattern. The projects tab on Ravelry is a gold mine and something I always deep dive into before starting a project.
Once you’ve picked your pattern, I’d highly recommend printing it out on paper. I tried in the beginning to just reference the digital file on my phone and keep track of my progress or row I was on in my notes app, but it just wasn’t great. Printing the pattern out and carrying around a pencil in your project bag is essential for me. I simply check off the different areas I finish as I go and use it mostly importantly for tracking my rows with little tick marks. I also like to jot down random notes like how many stitches I picked up for the button band or what the part measured at the specific step. It’s really helpful if you make the pattern again or need to repeat parts of the pattern.
Let’s talk gauge.
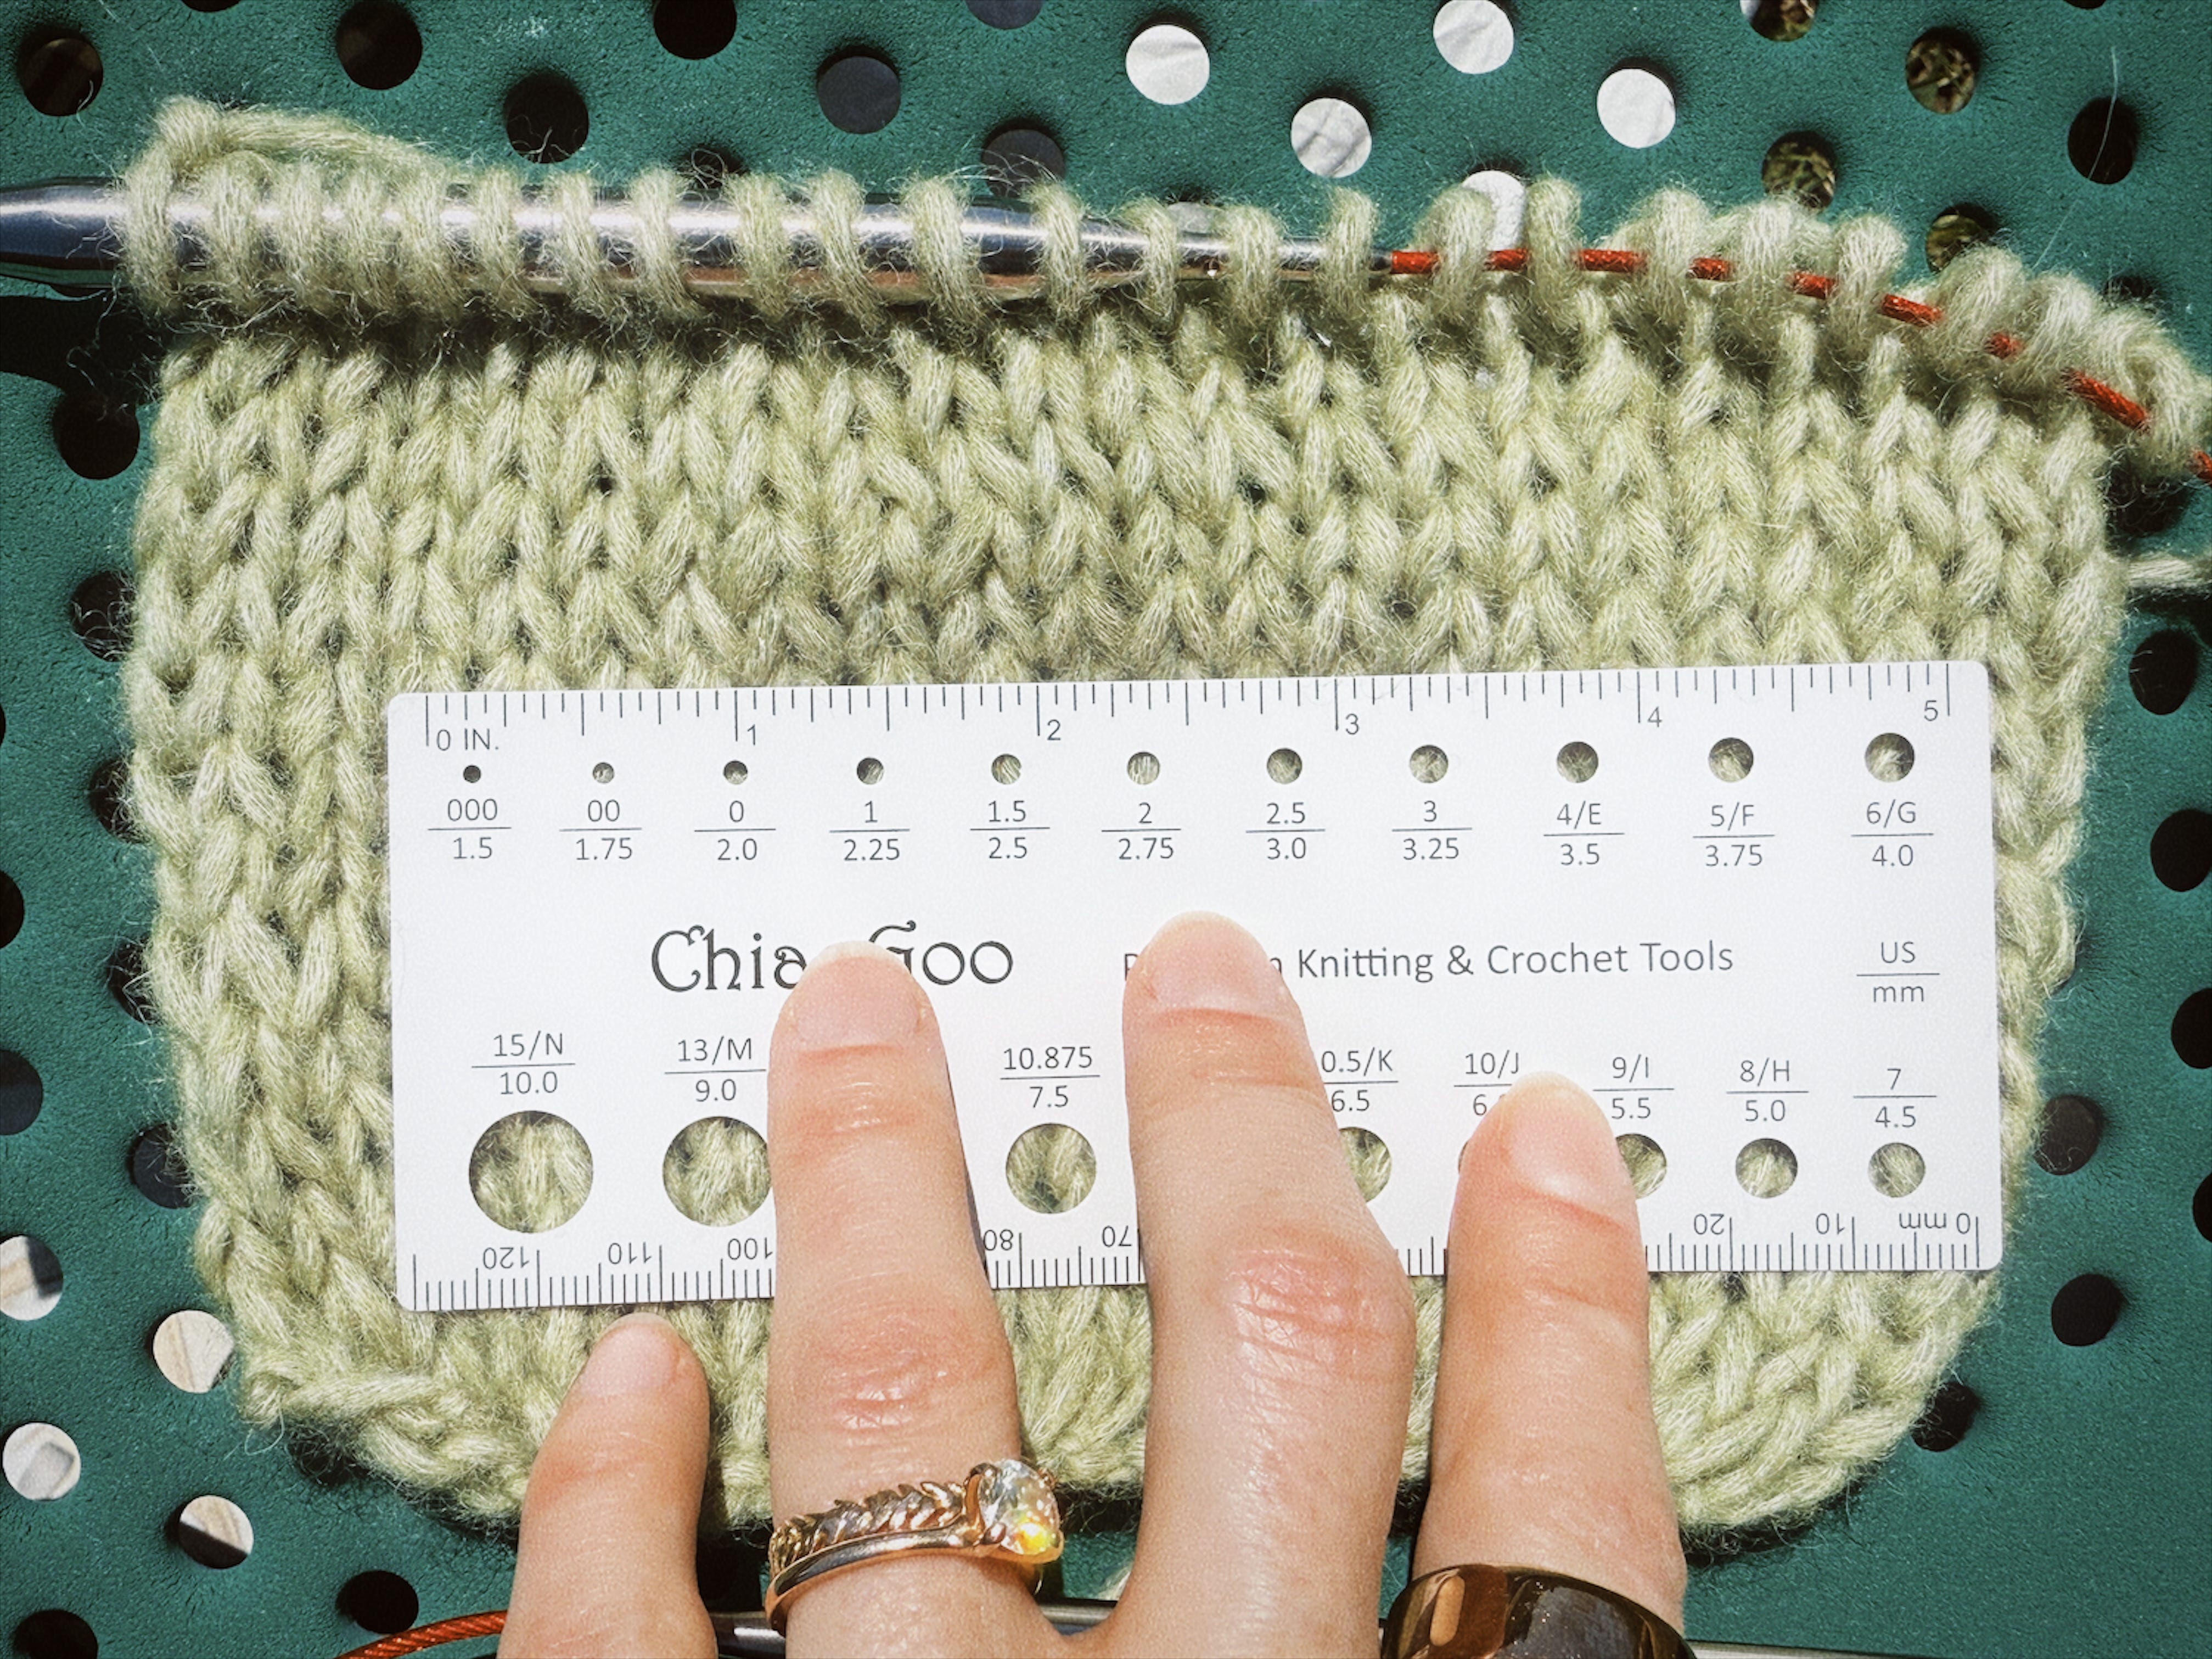
This was very confusing to me at first. Before you start each project you want to make a gauge swatch, which is just knitting up a four to five in square of fabric with the yarn you picked and the suggested needle size. Then you want to soak it in water for a few minutes and lay flat to dry. Yarns will often stretch or sometimes they can shrink up a bit or simply stay the same before block. In your pattern it will tell you the gauge you need to achieve to make the pattern.
(EDIT: I made a mistake in my original article and had my gauge suggestions inversed. I have updated the post to the correct information.) If you didn’t meet gauge, like you had 22 stitches over four inches and the pattern calls for 20 you will need to go up about a needle size to get the gauge to match or get really close to your pattern requirements. If you were to just knit up the piece at the 22 stitch gauge you garment wouldn’t fit as the pattern describes. In this specific case if you have too many stitches the garment will turn out smaller than the patterns says it will.
Making a gauge swatch is annoying and adds time and work to the process, but it’s totally worth the time to make sure the final outcome of the pieces lives up to your expectations.
How to pick your size in the knitting pattern:
In patterns they will usually have a list of sizes and then body measurements that correspond to the different sizes in the pattern. This can be a good starting point, but what you really want to look at is the “positive ease” they say the pattern has. This article from Purl Soho does a great job of explaining positive ease.
I would suggest you find a sweater currently in your wardrobe that has the fit you’re looking for the piece you want to knit and measure its width across from armpit to armpit. Then, double that number to get the circumference of the garment. Now, compare that to the finished garment sizes in the pattern. It’s find a size that ranges close to that measurement.
Let’s wrap it up (and let me know if you have any questions!)
I feel like I could keep going and going into the nuances of knitting and other tips, but I want this to be a digestible beginners guide. If you have any questions or if I missed something please ask in the comments!
Great article but your notes about gauge are wrong. If you have 22 stitches but gauge is 20, you need to go up a needle size, not down
I just started knitting this month! This is so helpful - I knitted the sophie scarf and it turned out a bit wonky so i'm going to try again before I move to the PK cloud sweater. You may have convinced me to do a hat first though! haha thanks!